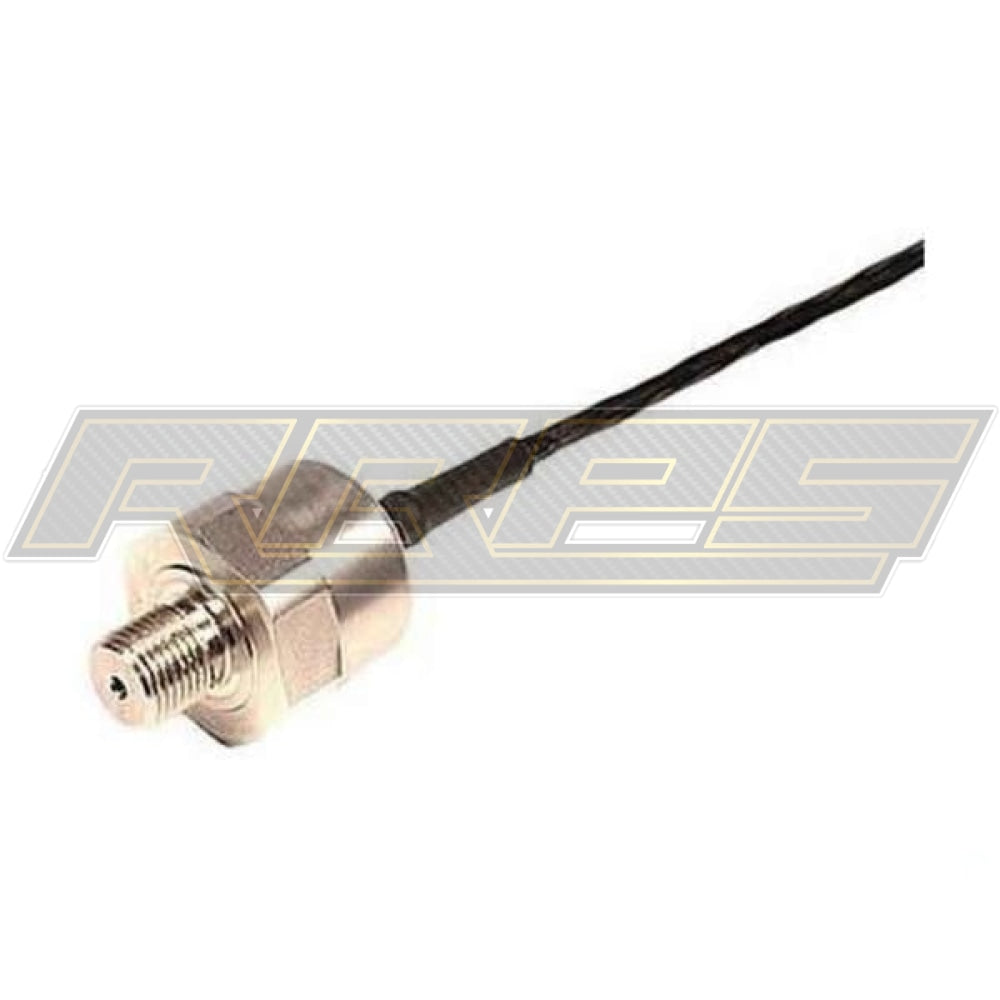
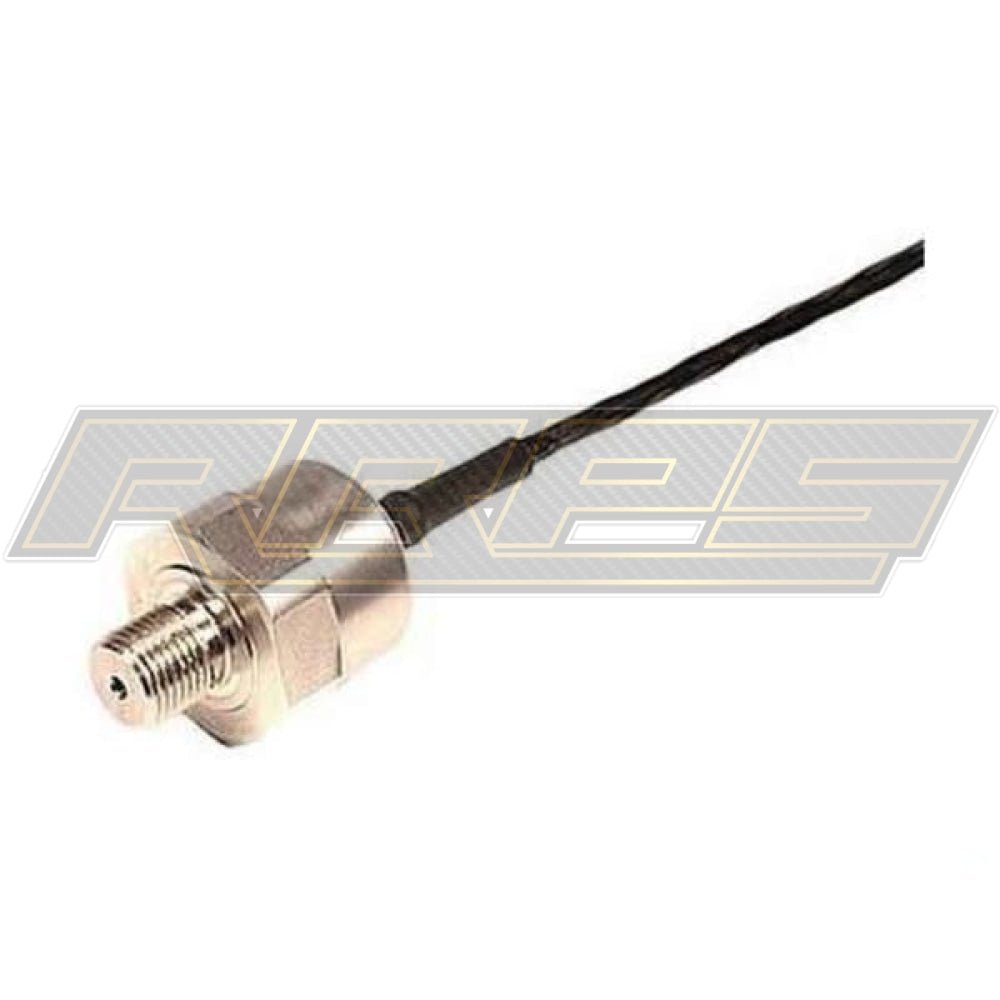
Aim M10 Brake Pressure Sensor For Motorcycle
£215.00
Aim M10 Fitting Brake Pressure For Motorcycle
Available as 0 - 100 or 0 - 200 BAR
There is also an option to purchase the inline T Connector with the Sensor
Aim Technologies are committed to supplying, professional engineers quality motorsport products.
These small, lightweight but well-engineered pressure sensors, are amongst the best in the market place today
Aim sensors are IP67, and weight only 34grams, made from stainless steel, and operate between -20C and +135 C
The AIM series of pressure transducers have been designed for the detection of fluid and air pressures in demanding motorsport and automotive applications.
These are ideal for high precision data acquisition or control systems.
The transducers can be installed directly onto vehicles or as part of a test stand or dyno. They offer a high level of reliability and endurance, they are protected against the high vibration, shock and high temperatures found in motorsport.
The modular construction and programmable amplifier provide a fast delivery time for standard and custom configurations.
Industry standard 3-wire electrical connections allow configuration with most common ECU’s and data logging systems. The ASL series are race proven in many formula around the world and offer a reliable and cost effective solution for.
How to set up on a Pressure sensor on a AIM Data logger System using Race Studio 2.
Go to the Race Studio 2 software and open the programme, on the top bar double click customize sensor, when the box opens, in type of measure select pressure.
Next,
On line 1, in the X column type 500, and in the Y column type 0
Then
10 Bar - On line 2 in the X column type 4500 and in the Y column type 10
100 Bar - On line 2 in the X column type 4500 and in the Y column type 100
Then press the compute Curve button, this should create the liner graph for you.
Lastly Rename your sensor as you wish, so you recognise it, then press the save button.
Now exit, to locate the sensor and assign it to your logger, go to Device Configuration, and the sensor will be in the drop down selection of sensors on the Sensor type under the channels tab.
How to set up on a Pressure sensor on a AIM Data logger System using Race Studio 3.
Open Race Studio 3 software, in the top left, on the configuration buttons, click custom sensor, when the box opens, then click on the New button in the top middle of the screen,
This brings up a custom sensor configuration screen.
in type of measure type box select Pressure
in calibrate type leave as none.
Input type is mV.
Next,
On line 1, in the X column type 500, and in the Y column type 0
Then
10 Bar - On line 2 in the X column type 4500 and in the BAR column type 10
100 Bar - On line 2 in the X column type 4500 and in the BAR column type 100
Press enter.
This should create the liner graph for you.
Lastly Rename your sensor as you wish, in the top box, in Sensor Name, so you recognise it, then press the save button, and the close button.
Now go back to the dash configuration, choose your dash setup from the Devise Configuration, click on the channel you have input the sensor too, select function as pressure, and oil Pressure, this then should bring your custom sensor up in the sensor list, then check all is setup right and press save.
Extra Information.
Electrical Connections :
Red: +VB Supply
Blue : 0v Common
Yellow: Signal
Custom Sensor Information
0 bar: 500mv
100 bar: 4500mv
Supply voltage: 8-16 volts
Output: 0.5 – 4.5 volts
Connection to a 719 or 712 Binder Plug,
from the solder view, going to the logger
Top right pin 1: Signal
Bottom right pin : ground
Top Left pin 4: not connected
Bottom left pin 3: +VB – 12volts


